
This time of year I feel overly nostalgic.
Maybe it’s the year ending, maybe it’s Christmas approaching, maybe it’s sleep deprivation, but I just want to take pictures of my kids, and stitch, and write a date on everything.
I know that this phase of my life–a phase full of babies and legos and parks–won’t last forever and I want to remember every minute!
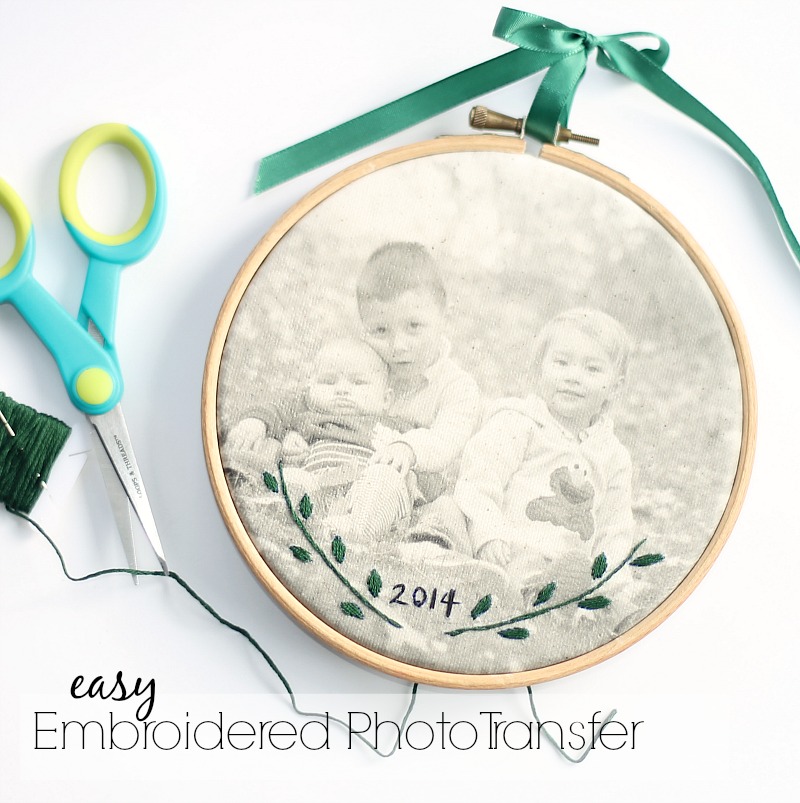
For this reason, I am IN LOVE with today’s project: Embroidered Photo Transfer. Unlike some of the other photo transfers I have done, this one is SO EASY it’s silly.
And, if you know me or have hung around this blog at all, then you know that if I really want something to be special, then I have to add a few stitches to it.
And, that is exactly what I did here–but I kept it simple and found a beautiful way to add a date so that the nostalgic part of me is satisfied.
Ready to make an embroidered photo transfer of your loved ones?
Here’s what you’ll need:
- White Fabric (I used a heavy canvas)
- Epson Iron-on Cool Peel Transfer (8.5×11 Inches, 10 Sheets) (S041153)
- Embroidery Hoop
- Permanent Marker
- Embroidery Thread and Marker
As a first step, find a picture of those you love and edit it.
I recommend using a free online photo editing site like PicMonkey: crazy-awesome photo editing.
I simply changed my photo to black and white but you should also consider lightening your image, sharpening it, and if there is any writing on the image, reversing it, as the image will be back once it is transferred.
Since my image did not have any writing I didn’t bother to reverse it.
Then, following the instructions on your Printable Iron-On Transferred, print and iron your image onto your fabric.
Since it is tricky to get the sides and corners to transfer perfectly, I left the extra room around the edges of my image.
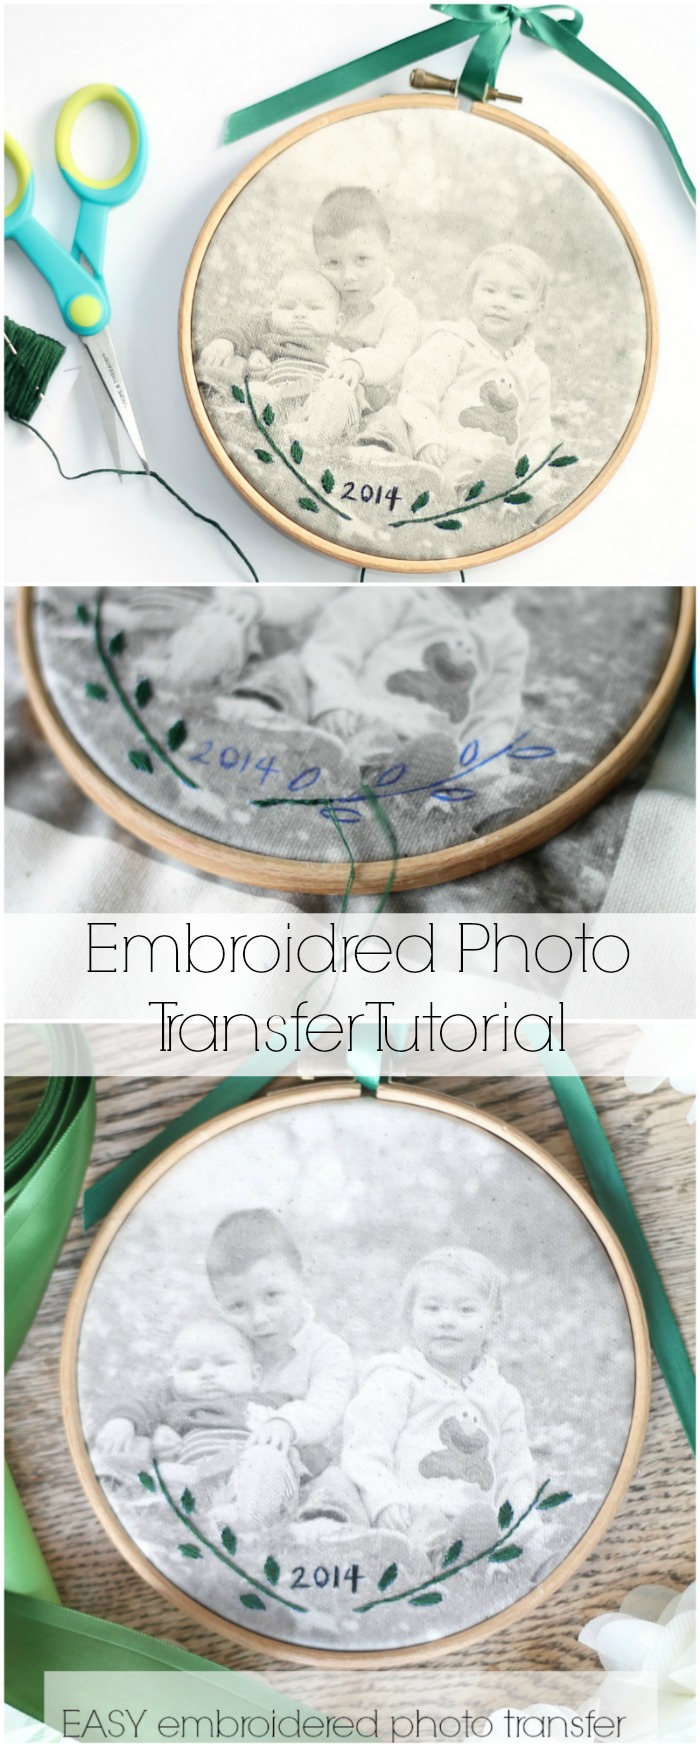
After the image has cooled, place it into an embroidery hoop that frames it nicely and grab your embroidery thread.
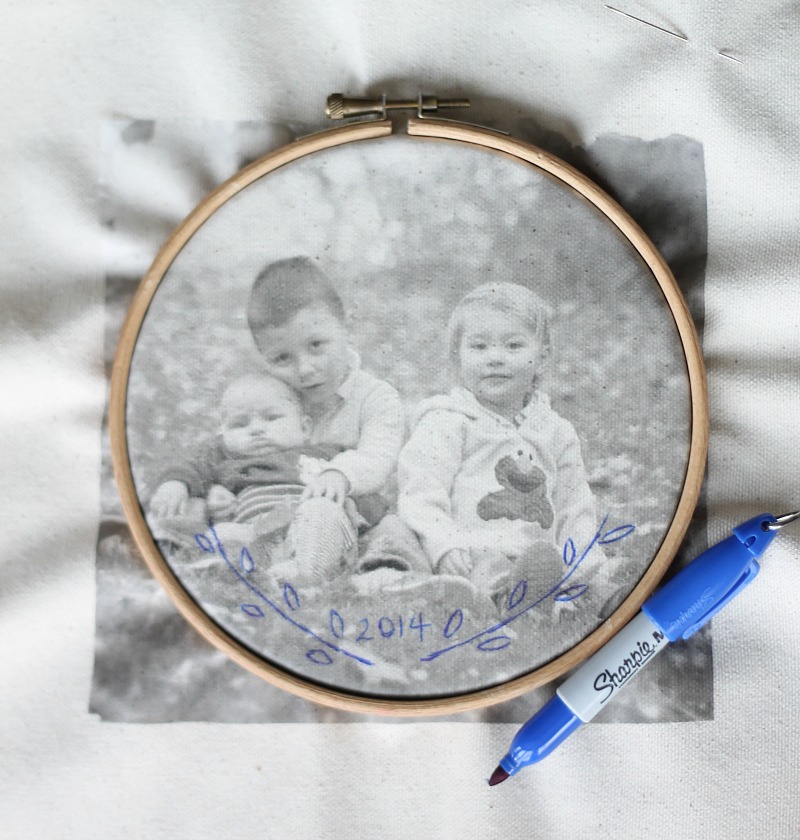
As a first step in the embroidery process, take a FINE TIPED sharpie and stench out your intended design.
Make sure the line is thin enough that it will be hidden once you stitch over it.
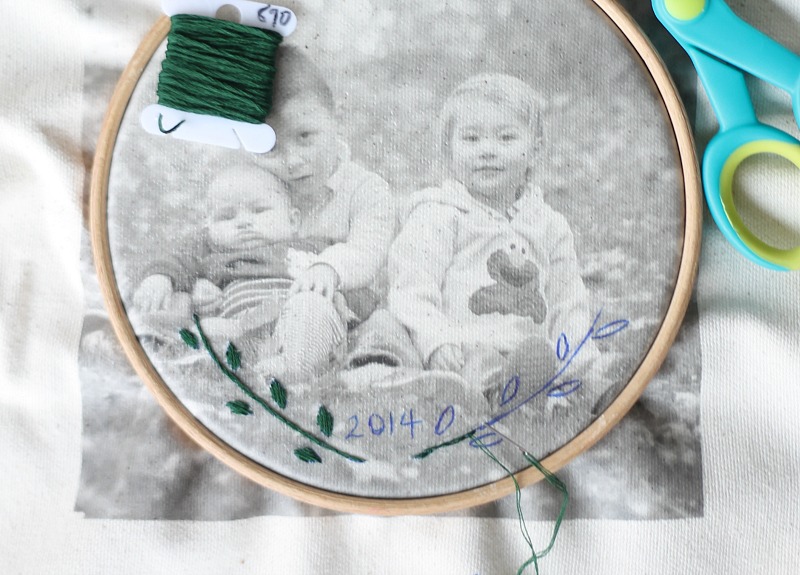
Now, if you are going to stitch a garland as I did, then there are 2 basic stitches you’ll need to use.
The first is a SPLIT STITCH. Use this stitch for the stem.
The split stitch is a straight stitch, followed by another straight stitch that begins in the middle of the previous stitch–so you SPLIT the previous stitch every time you start a new stitch.
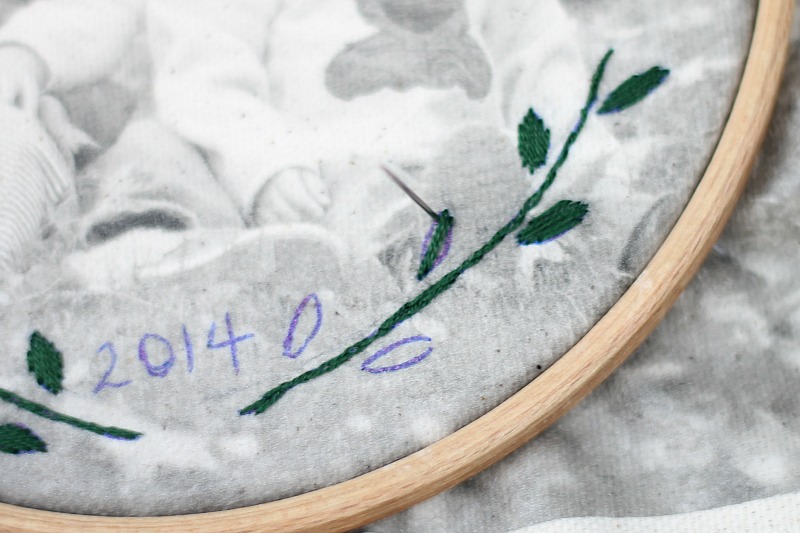
The next stitch is called the SATIN stitch, and it is used to fill in the little leaves.
I love the sating stitch and have used it A LOT.
The satin stitch is simply a long stitch that stretches from one side of an area clear over to the other, followed by another long stitch that does the same thing, until an entire area is completely filled.
And, the final bit of stitching is the date.
I used black thread here and a simple backstitch.
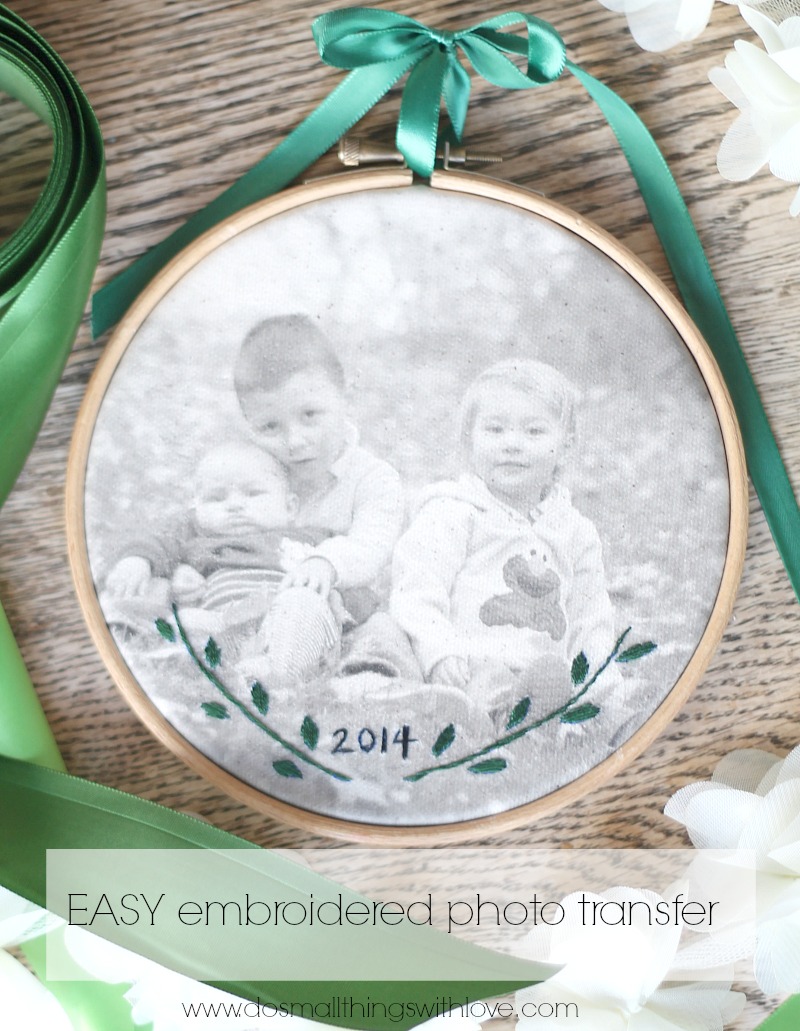
And, voila! I really love this project….and in terms of photo transfer, it is so easy and quick!
Thanks for being here!

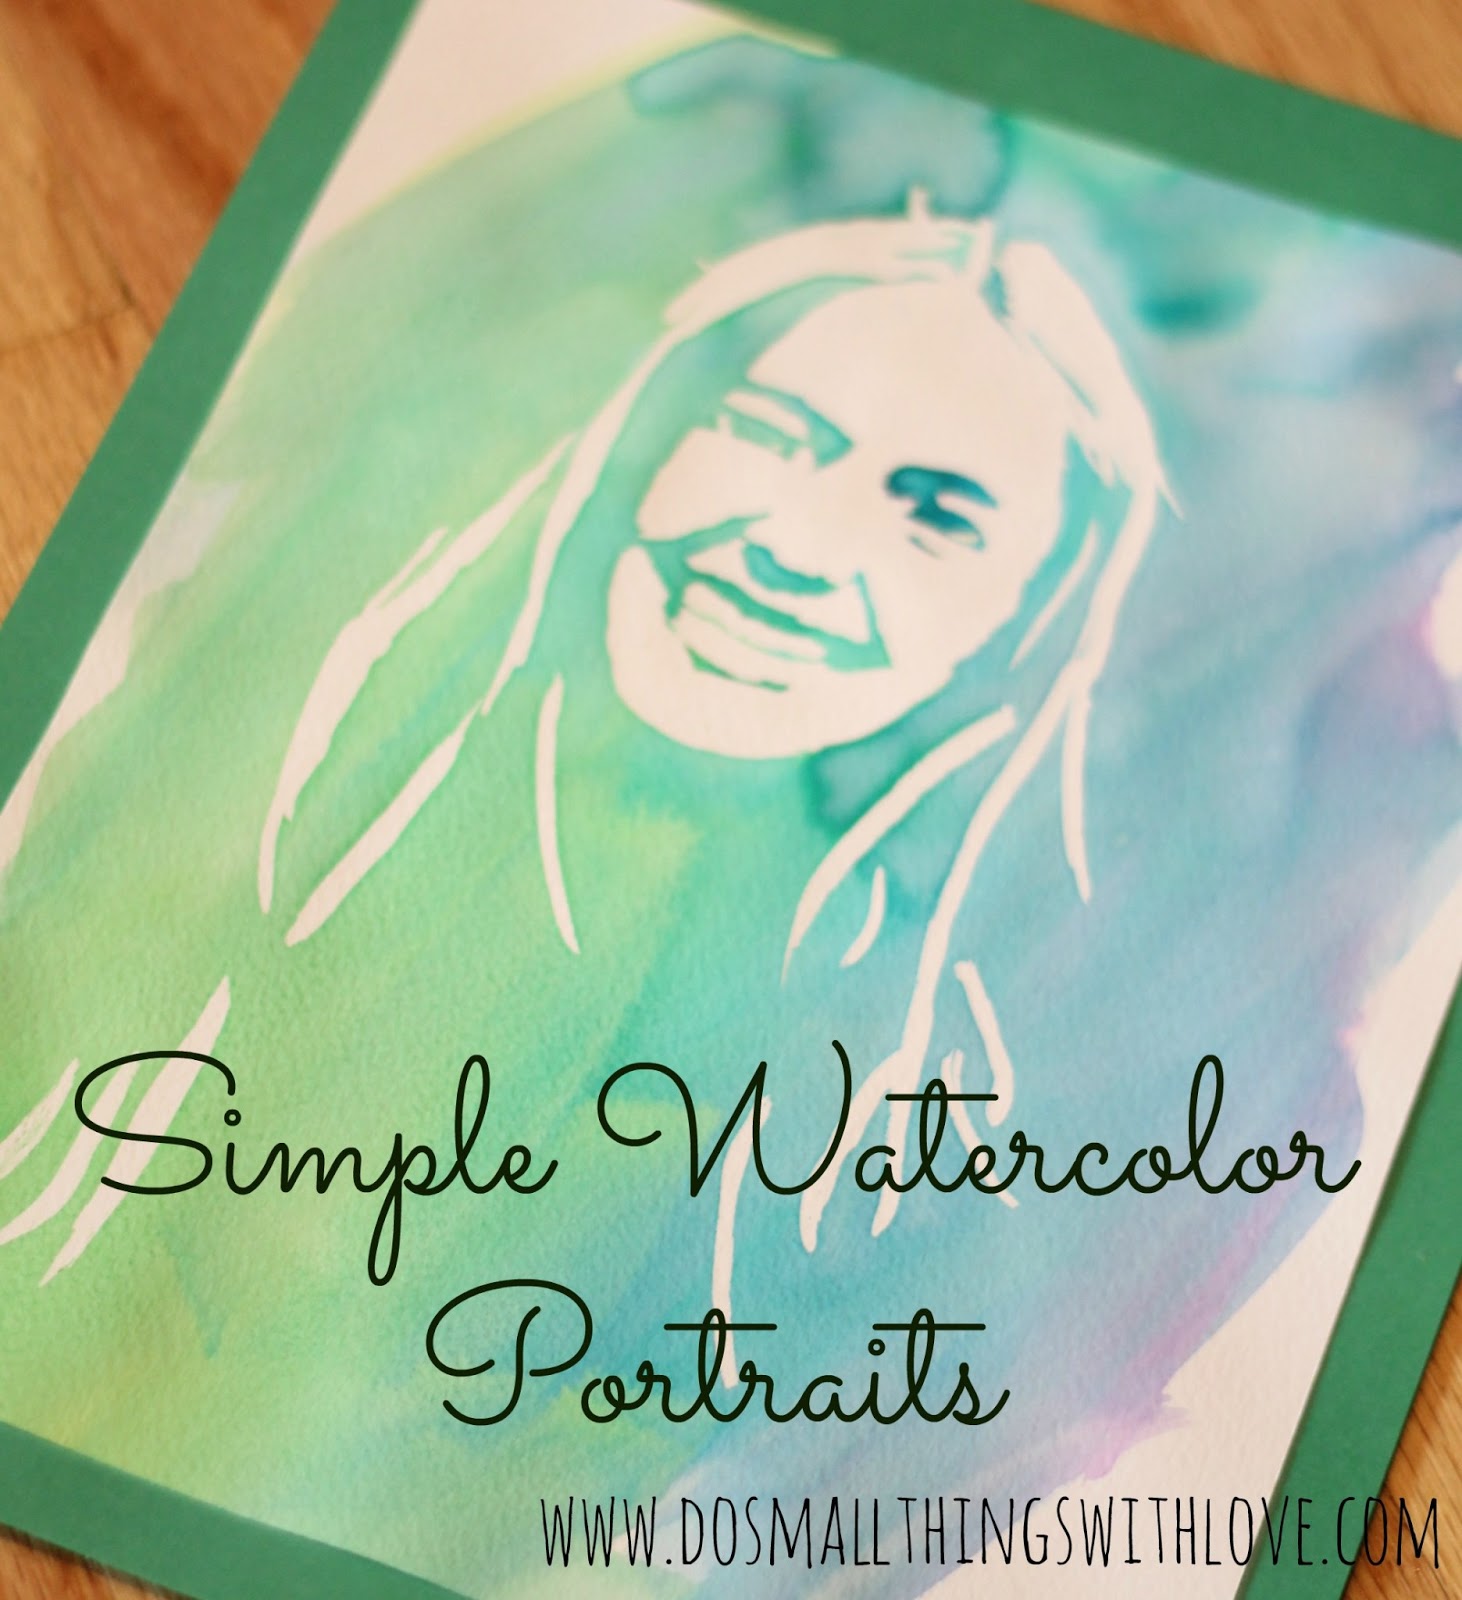
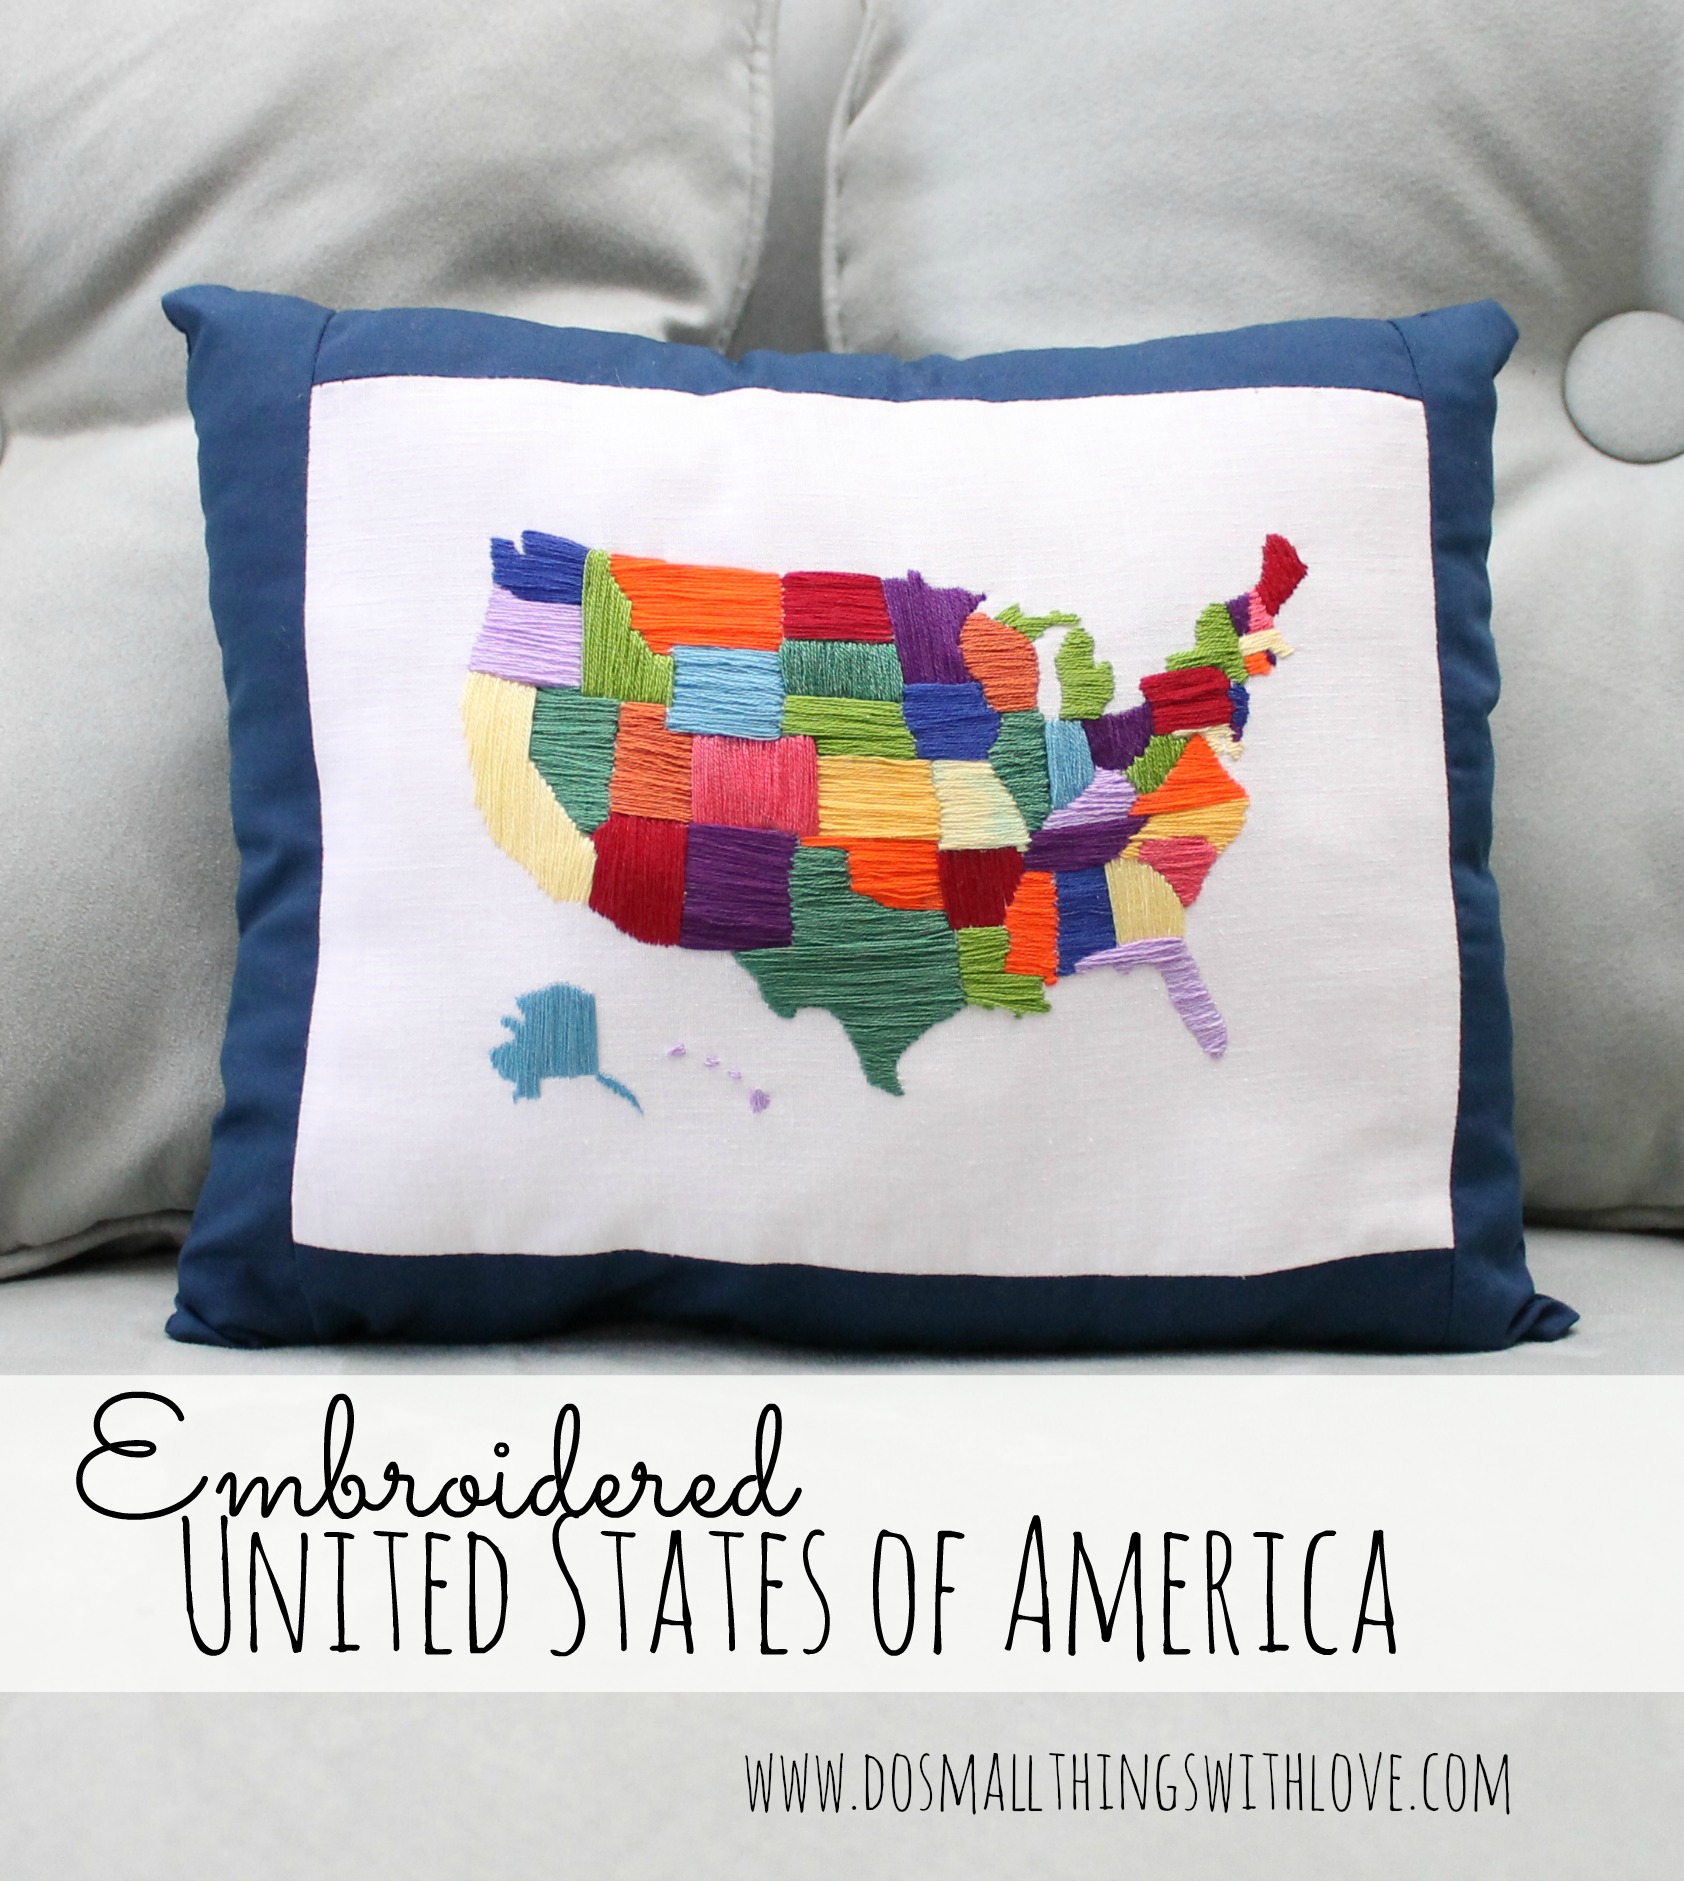
PS–if you liked this project, consider checking out these:
I would love to do a pic of my oldest grand daughters wedding photo but I want to recreate her bouquet she made for her special day with silk ribbon. I’m debating as to fabric like linen or muslin to go into an oval hoop. I don’t think the stiffer paper will work into the hoop. I can’t do this myself because the size of my hoop is 20” tall by 14” wide. Any recommendations? I’ve never done this before!
What size is the hoop pictured?
Nancy this is SO darling! i love it!
Angela recently posted…Holiday Baking: Graham Cracker Peanut Butter Cups
thank you, Angela!!
What a wonderful idea! You’ve made a very special keepsake.
thank you so very much!
This is so neat,When comes computer’ s I’m lucky to know how do anything..lol You made look simple ,Thank’s & kids are darling Happy Holiday’s …
It really is simple! and thanks–happy holidays to you!