
Catholic Sprouts
The Catholic Family Checklist:
Your daily, weekly, monthly, and yearly plan to get your family on track for holiness.
Ever wonder exactly what your Catholic Family should be doing? We are here to help! Enter your email below and receive our free Catholic Family Checklist, along with a detailed guide, designed to get your family running smoothing and on the path to holiness.
Welcome to Catholic Sprouts!
The most precious gift we can give our children is the Catholic Faith.
At Catholic Sprouts it is our mission to create fun and meaningful resources for kids to celebrate and live their faith. It is our joy to support Catholic parents as they build and lead their domestic churchs.
Did you know we have a community for Catholic Kids?
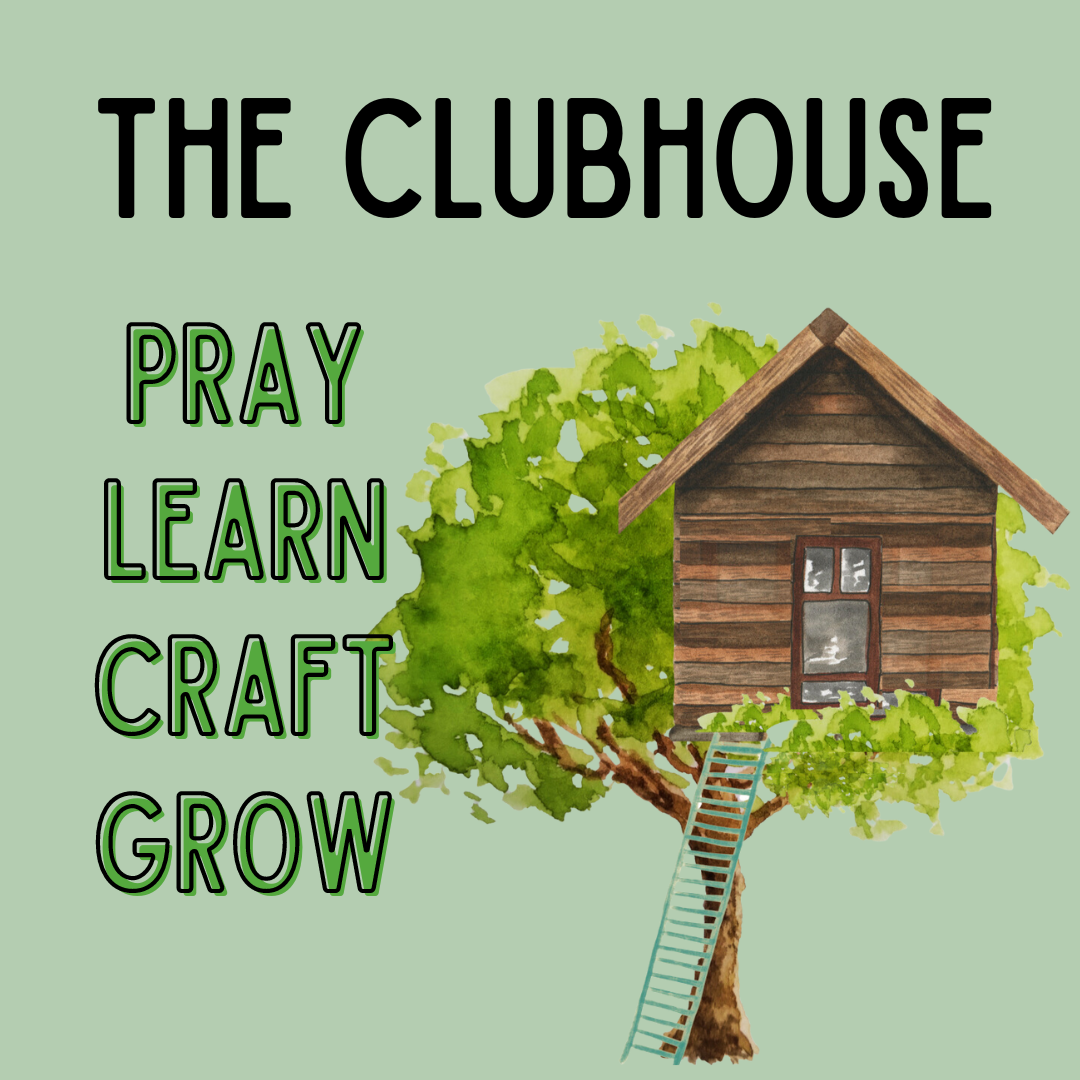
It's call the Clubhouse!
Join us inside the Clubhouse!
The Clubhouse is a community for Catholic Children. Several times a month we gather to pray, craft, chat with religious communities and grow in our Faith.
Hi, I'm Nancy!
And this is my crazy crew.
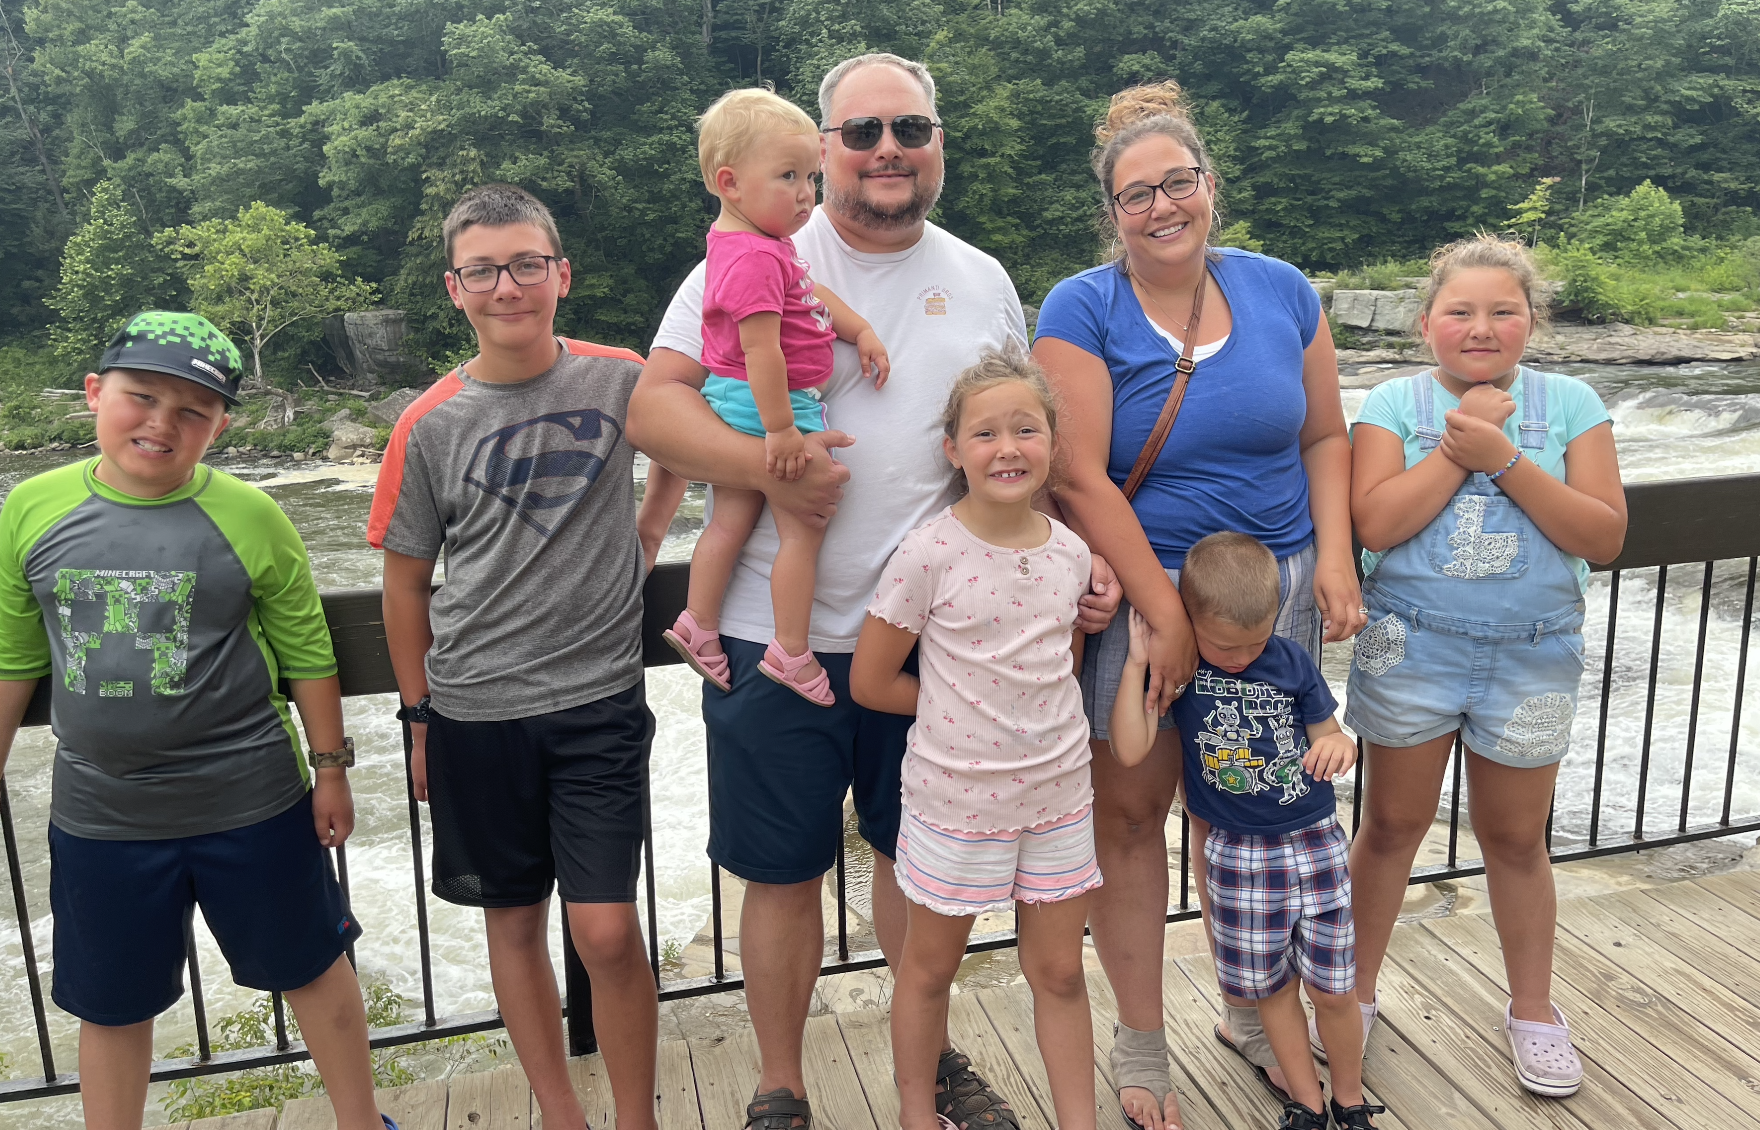
My family is just as messy and imperfect as yours. Bill and I are working hard to raise six Catholic Kids, and I get how hard this vocation is–but I also know how important it is.
The most precious gift we can give our children is the gift of our CATHOLIC FAITH.
I would be honored if you used what you find here to evangelize your children. They are the future of the Church.
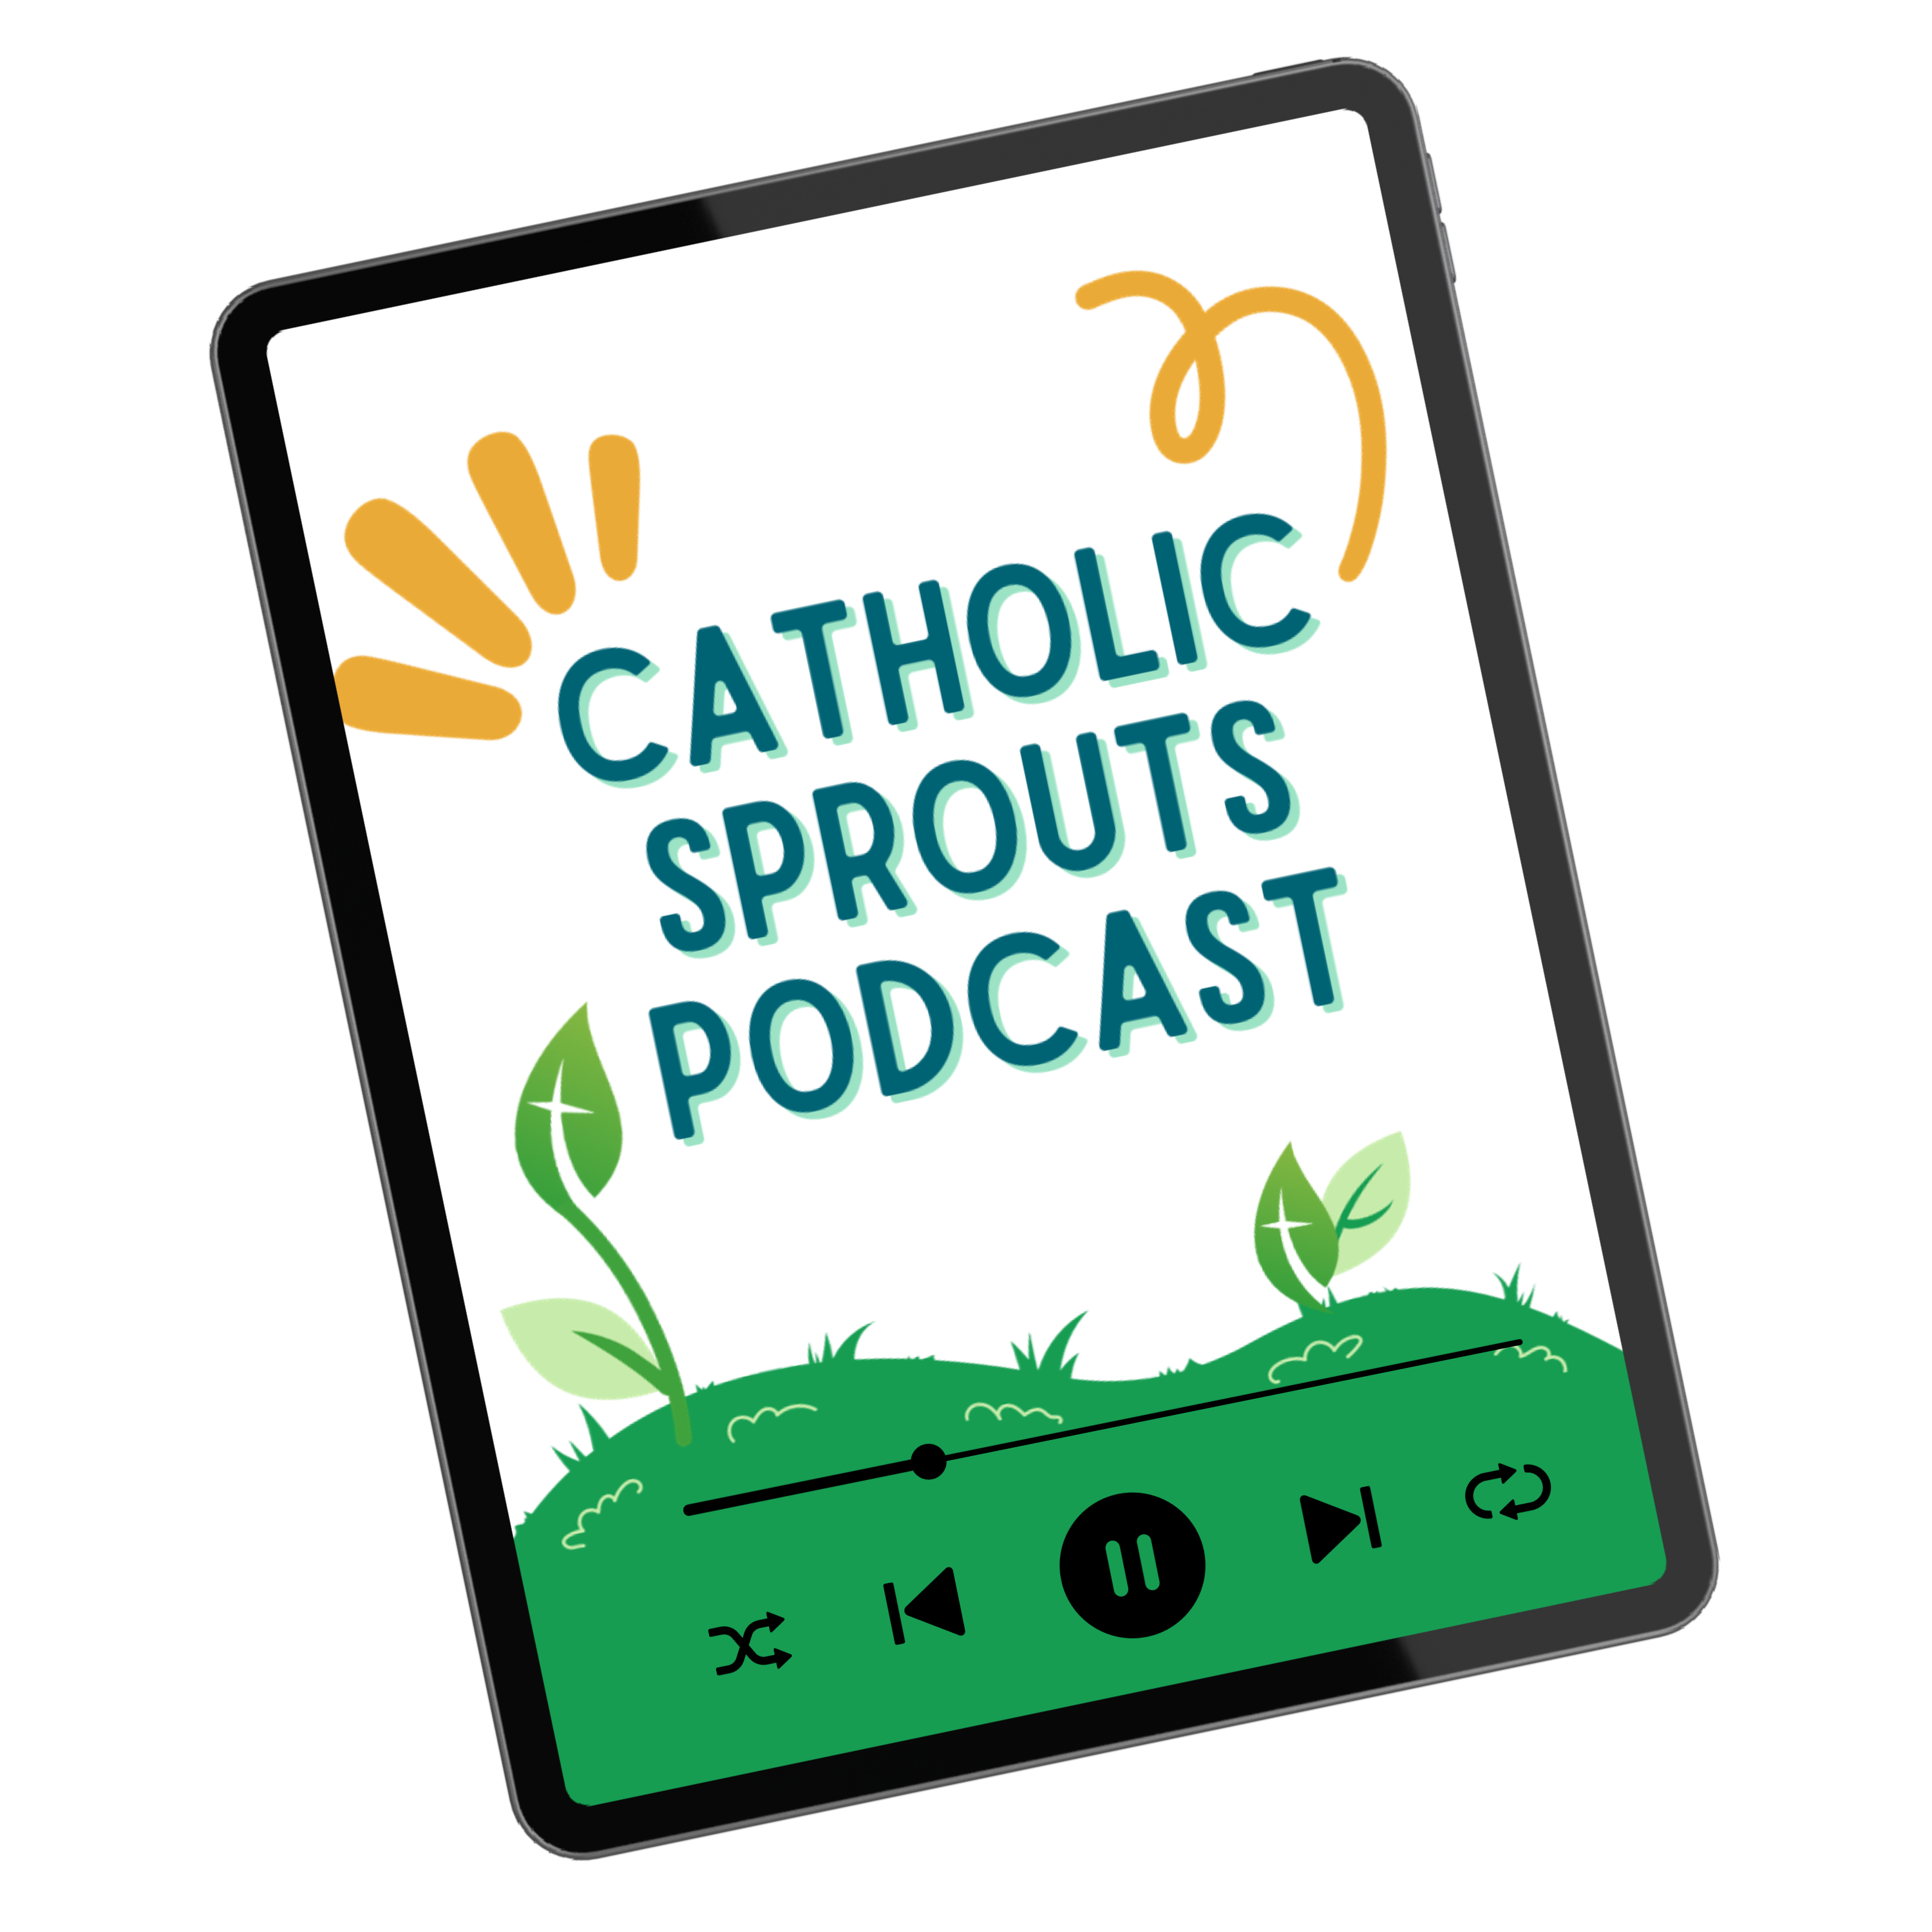
Tune in to the Catholic Sprouts Podcast
Join over 10,000 daily listeners who enjoy bite-sized faith lessons made especially for Catholic Kids.
The Catholic Sprouts Podcast is a Daily Podcast for Catholic Kids that strives to plant seeds of Faith. Look for a new 5-minute episode each weekday.
Catholic Sprouts Fans
“sources whereas high standards in web readiness. Energistically scale future-proof core competencies vis-a-vis impactful experiences. Dramatically synthesize integrated schemas with.”
 Luke SmithCEO & Founder odx
I am ten and I absolutely love this podcast! I listen to it at night right before bed and it’s amazingly awesome!!! It’s also great how there is a little task at the end it’s great. The persons voice is so clear and sounds so encouraging! 😁😇😍💝💖 I can’t go a night without! I would highly recommend listening to this!!! It is so fun and I learn so much from it!!! Catholic sprouts is sooo good!
--Cassie
“sources whereas high standards in web readiness. Energistically scale future-proof core competencies vis-a-vis impactful experiences. Dramatically synthesize integrated schemas with.”
 Irene J. HolmesPublications specialist
Not just the best Catholic children's podcast or the best Catholic podcast but this is THE best podcast ever. My kids, ages 5 to 18, get a lot out of it—and me too! Nancy has a gift for teaching in a gentle yet deep way. Some topics are naturally more adult-oriented (abortion) but Nancy has a way of presenting these topics in a healthy and appropriate way to young children but yet parents understand it at a deeper level. Truly amazing!!! God bless you and your family Nancy.
-LVC
“sources whereas high standards in web readiness. Energistically scale future-proof core competencies vis-a-vis impactful experiences. Dramatically synthesize integrated schemas with.”
 Robert T. RempeSoftware engineer
This podcast is amazing! A lot of the stories and morals of the stories fit perfectly with what I am going through, though I’m only eleven. I try my best to listen every night, but if I miss one or two I catch up in one night. I love how understandable all the episodes are! Thanks for keeping me on the path of God
-Rosaposa
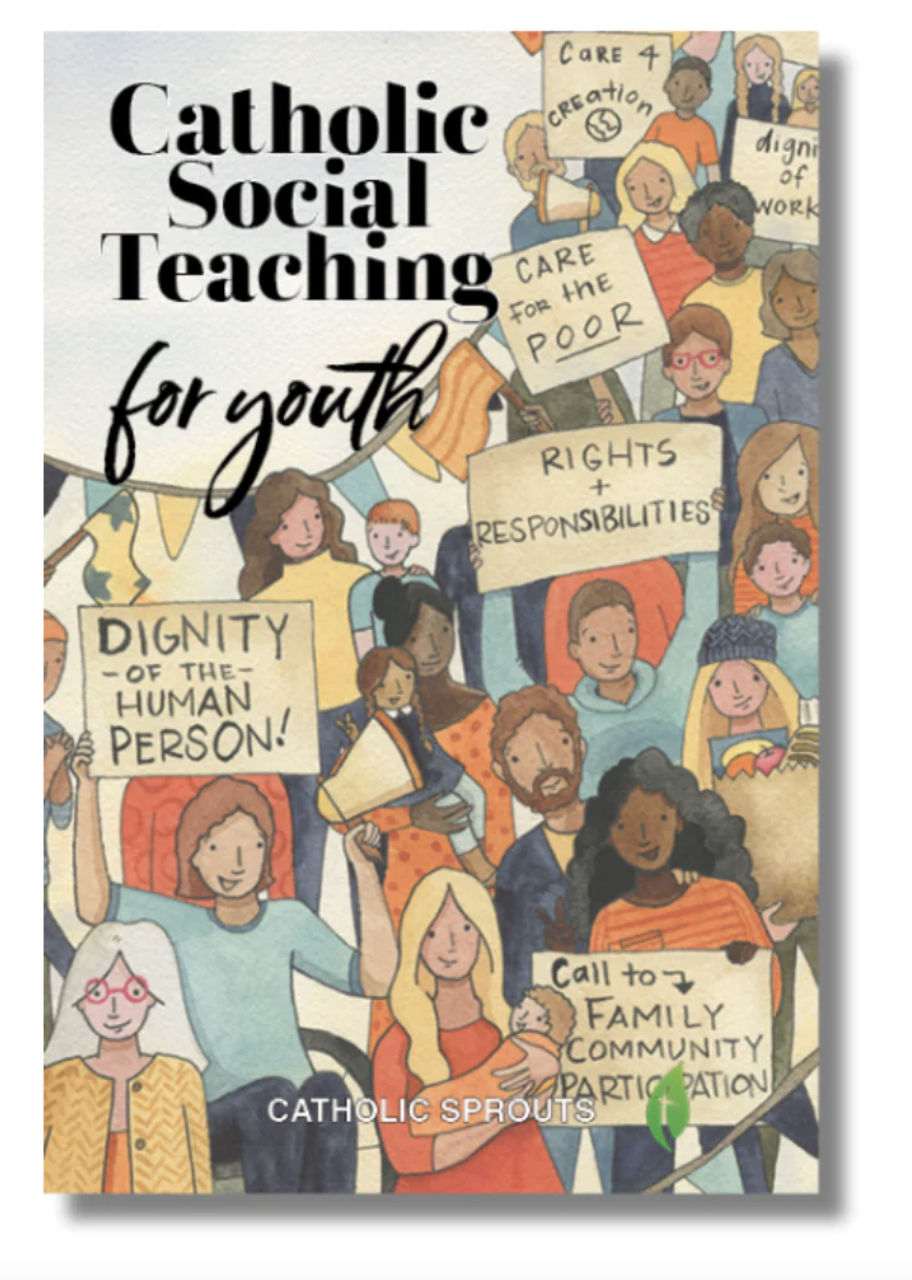
Stop by the Shop
Bestsellers
Used by thousands of Catholic Families
Search Catholic Sprouts
CatholicSprouts.com